Migrate your sccm server to a newer server
After several years of use, it is necessary to migrate the SCCM infrastructure to one or more other servers. It is possible to migrate the server to another server or to migrate role by role. If the infrastructure remains the same, the first solution is preferable because it is faster. In the case where the roles are redistributed, it is preferable to use role by role.
Prerequisites
It’s very important to verify the supported version of SCEM for the target operating system. In the case of Windows Server 2016, at least SCEM version 1806 is required. The name of the new server must be identical of the source server. The version of SQL must be identical on the source and on the target. Do not join the target machine to the AD domain at this time.
Configure the server with an ip address and a temporary name. Install SQL Server and ADK (the same as the target).
Backup SCCM
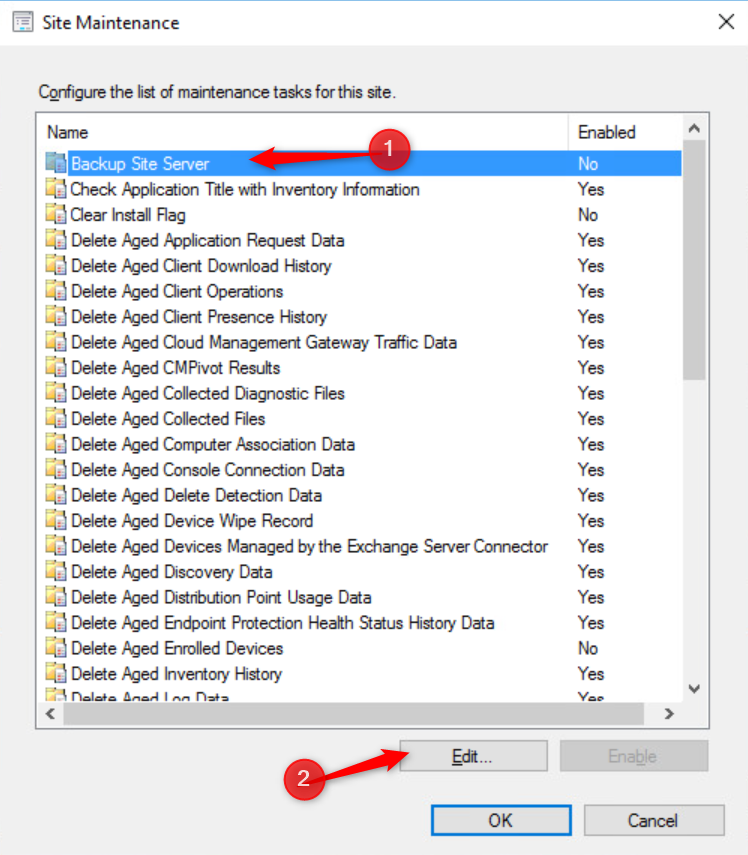
Before migrate your SCEM Server, you need to Backup ed the SCEM Server. From the SCEM console, open Administration tab then click on Sites. Expand Settings and click on Site Maintenance

Select Backup Site Server then click on Edit.
Check the days you want to run the backup and click on Set paths. Click on OK twice and .
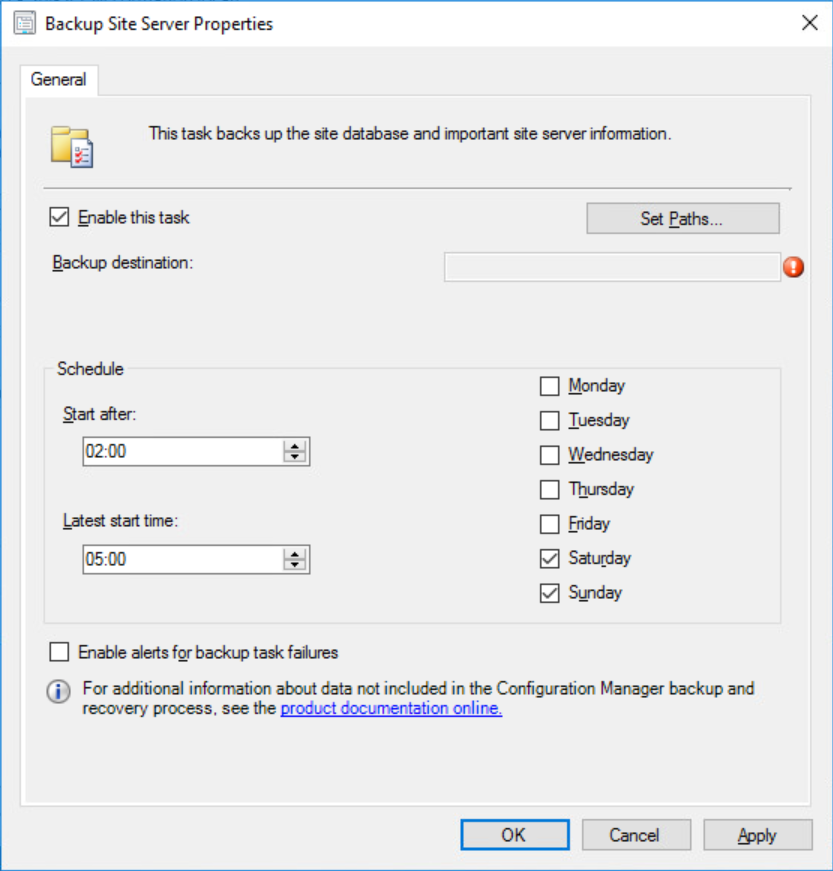
Wait the backup …
Configure the new server
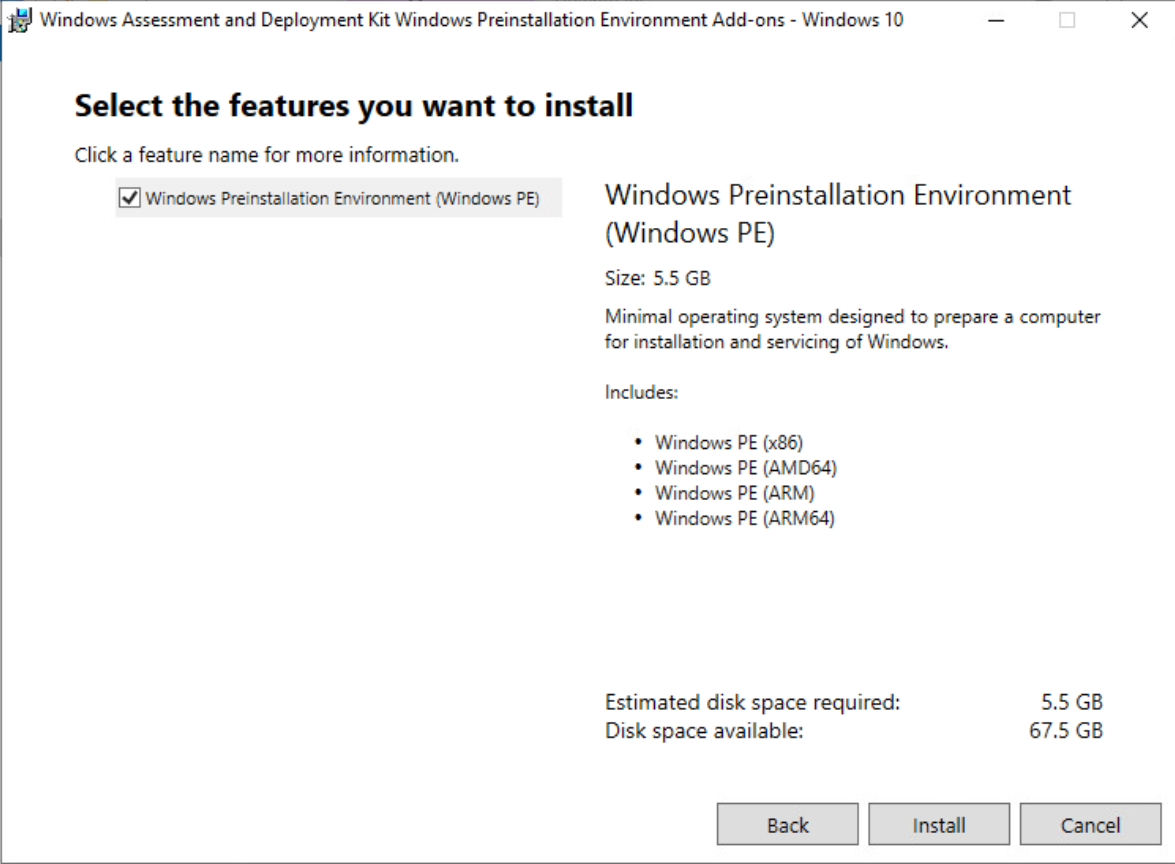
Download and install the same version on the ADK which is installed on the source server.

Check Deployment Tools, User State Migration Tool (USMT) and click on Install.

Install Windows Preinstallation Environment (WinPE) on the server.
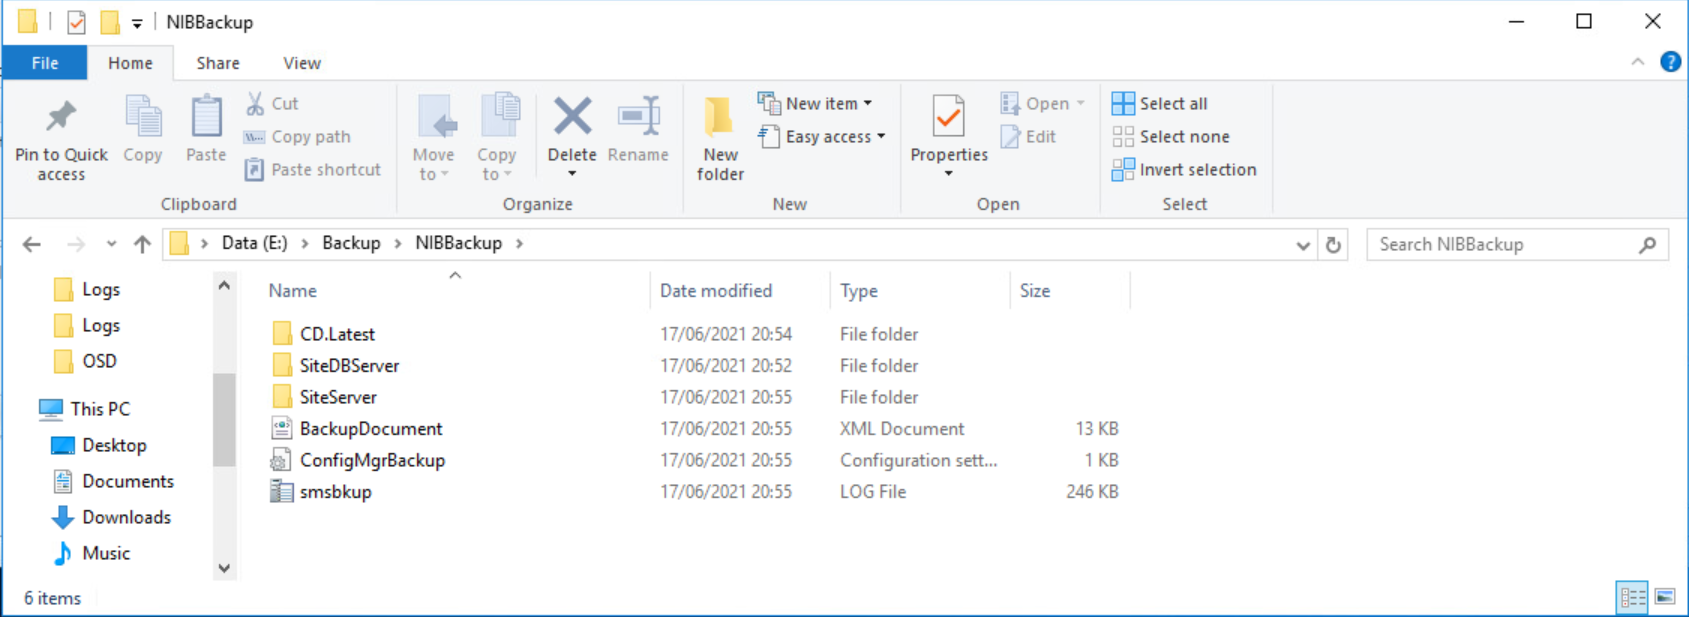
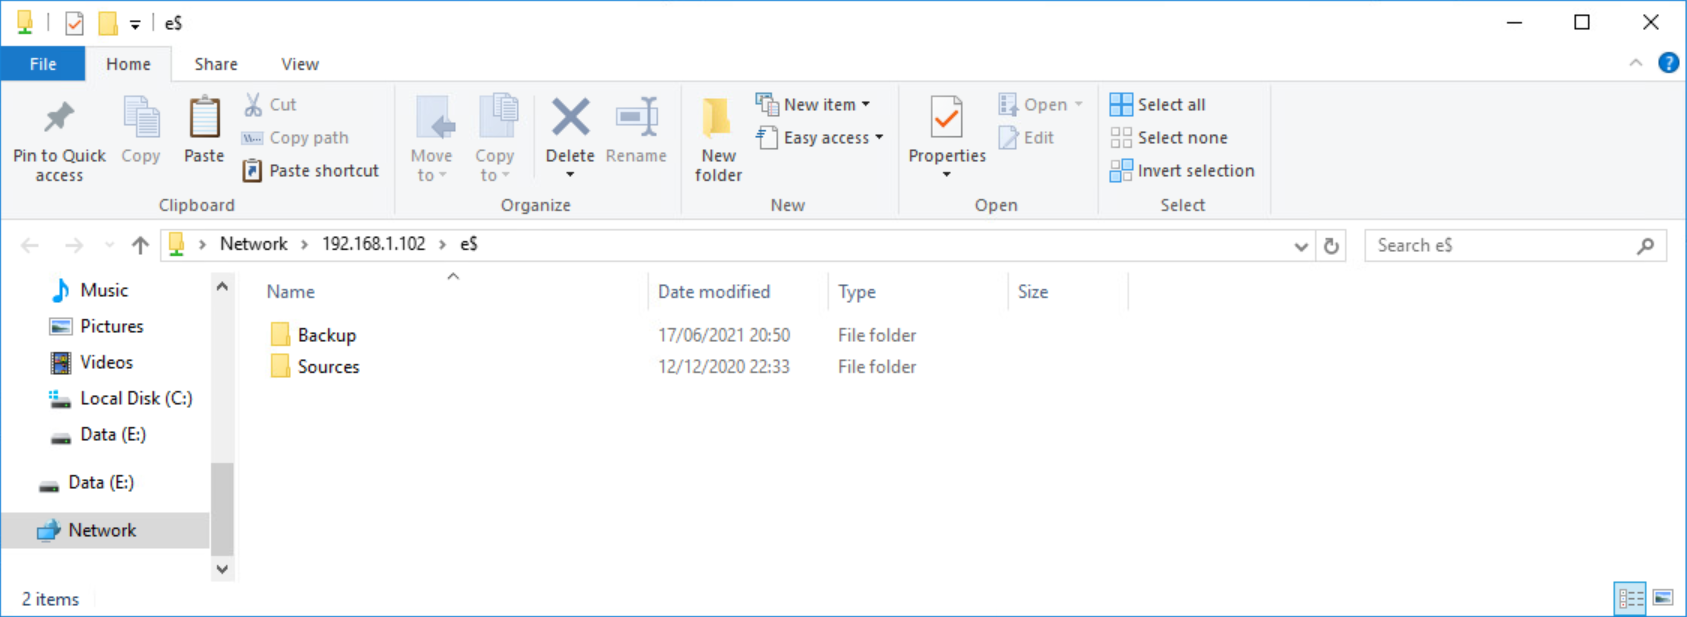
Copy on the new server, the folder with the backup previously created and the folder which contains source (Software, operating system, driver, etc.). You can also attach the virtual disk at the new SCEM server.

Power off the old server and delete the AD Computer account.
Rename the server and enter the old server name. Repeat the same operation with IP address.
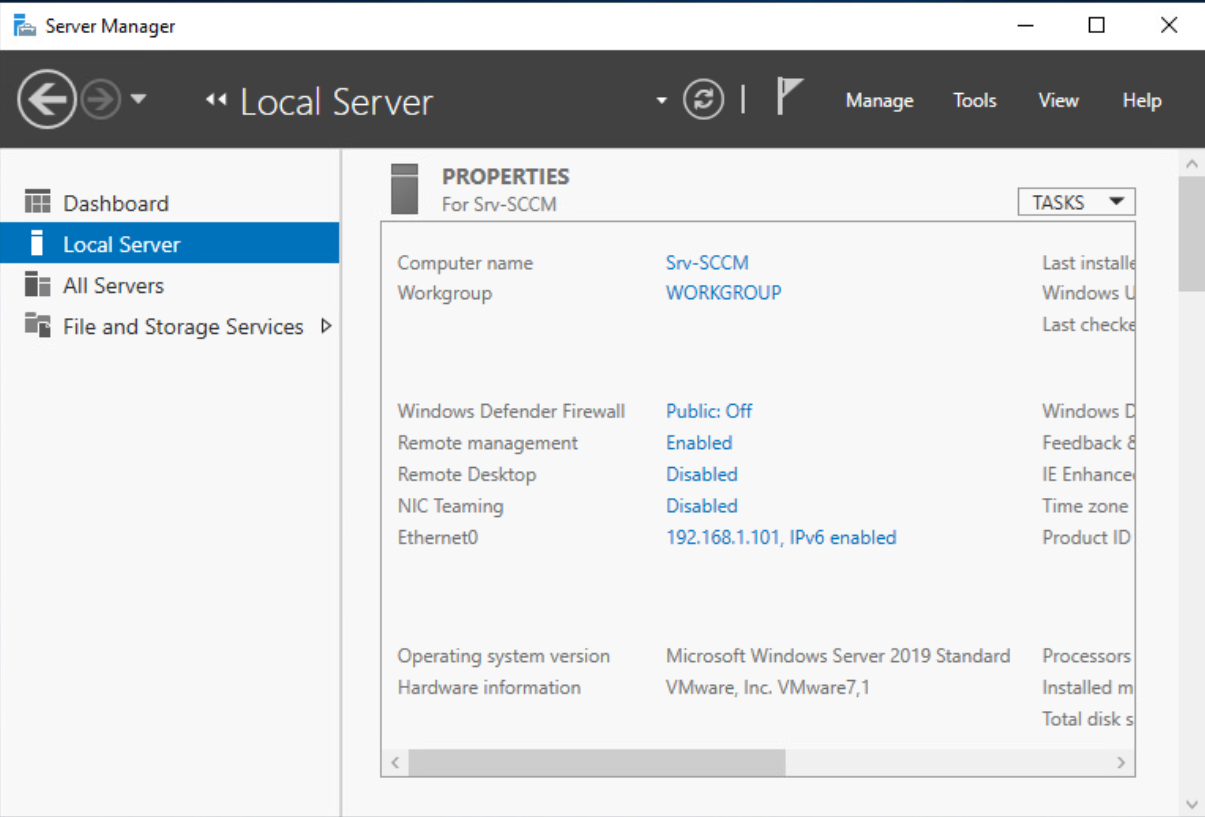
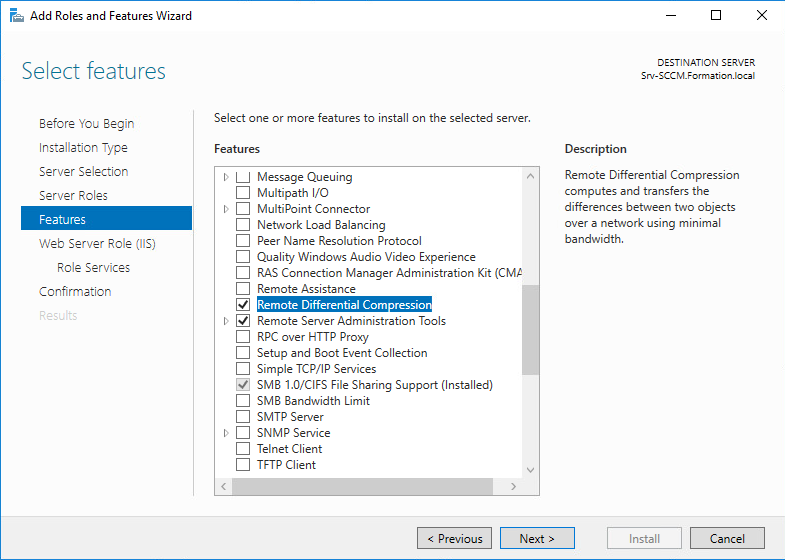
Join computer to the AD Domain and share the source folder with the same name and permission that the old server. Install the following roles and features on the server
- Web Server (IIS)

- .Net Framework 3.5
- Background Intelligent Transfer Service (BITS)

- Remote Differential Compression
On the IIS Role Service, select the following features :
- Web Server \ Security \ Windows Authentification

- Web Server \ II 6 Management Compatibility \ IIS 6 WMI Compatibility
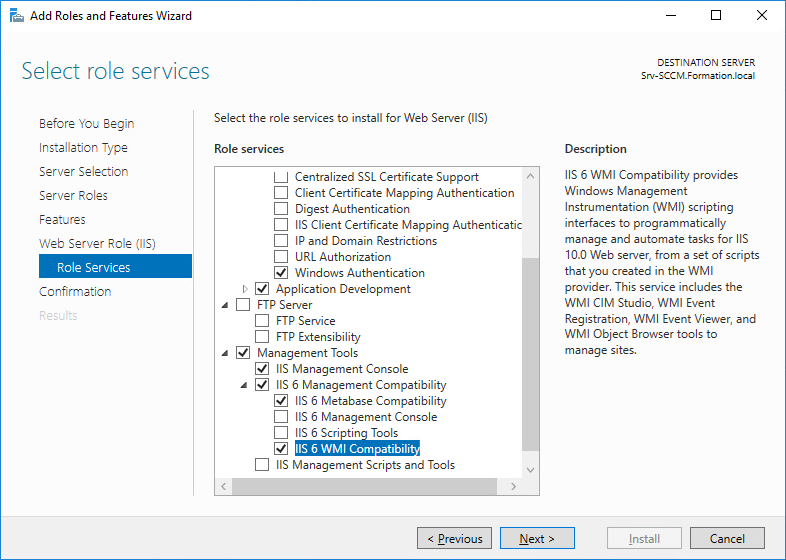
- Web Server \ Application Development \ ASP, ASP.NET 3.5 et ASP.NET 4.6

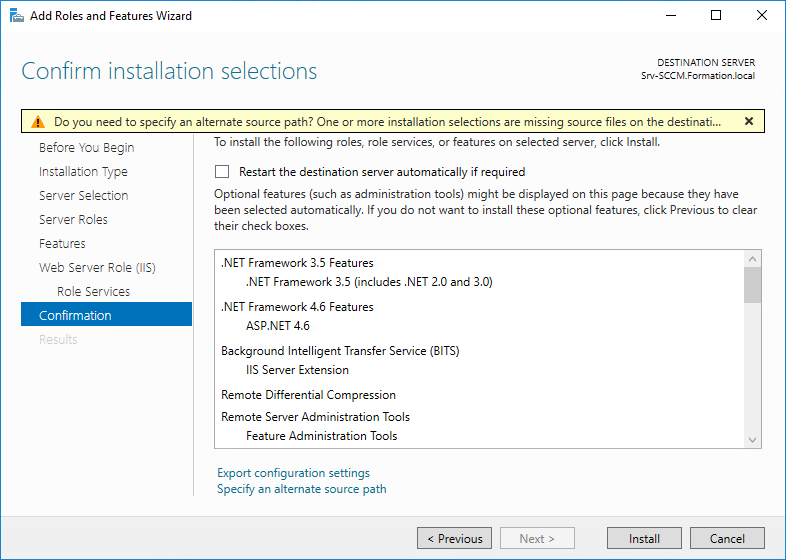
Click on Install for install selected roles and features.
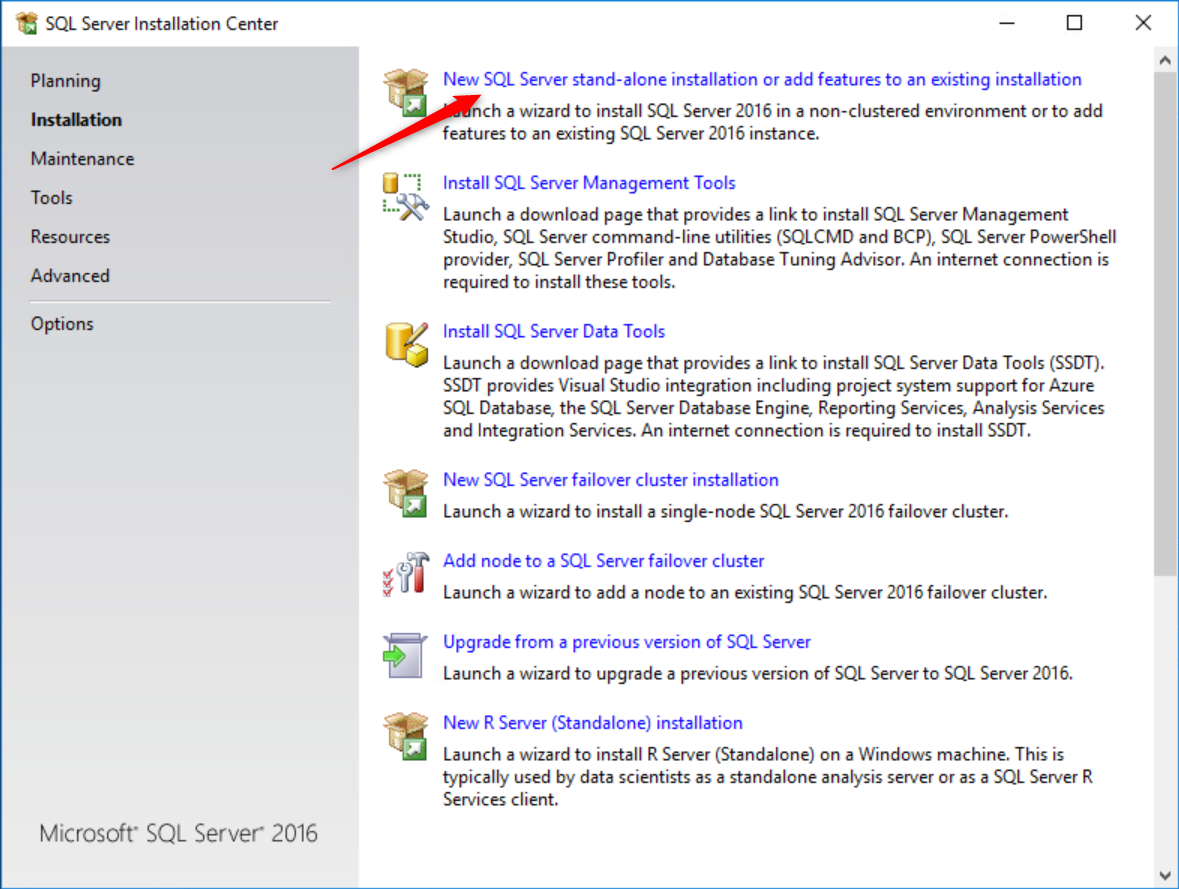
Install SQL Server
From the server, run Setup.exe file to start install of SQL.

A wizard appear, click on New SQL Server stand-alone installation or add features to an existing installation.
Check I accept the licence terms then click on Next.

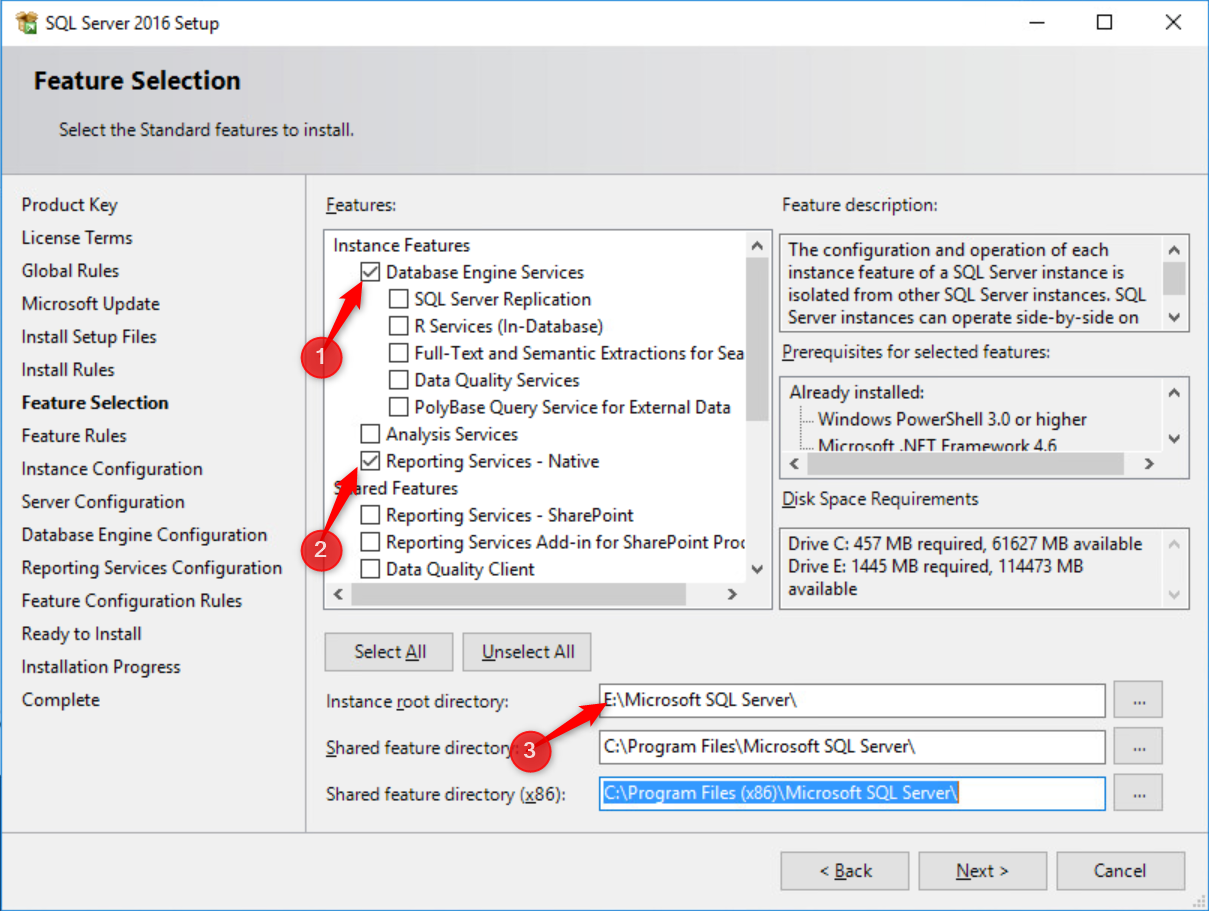
Check Database Engine Services and Reporting Services – Native. Modify the path of Instance root directory and select the data volume.
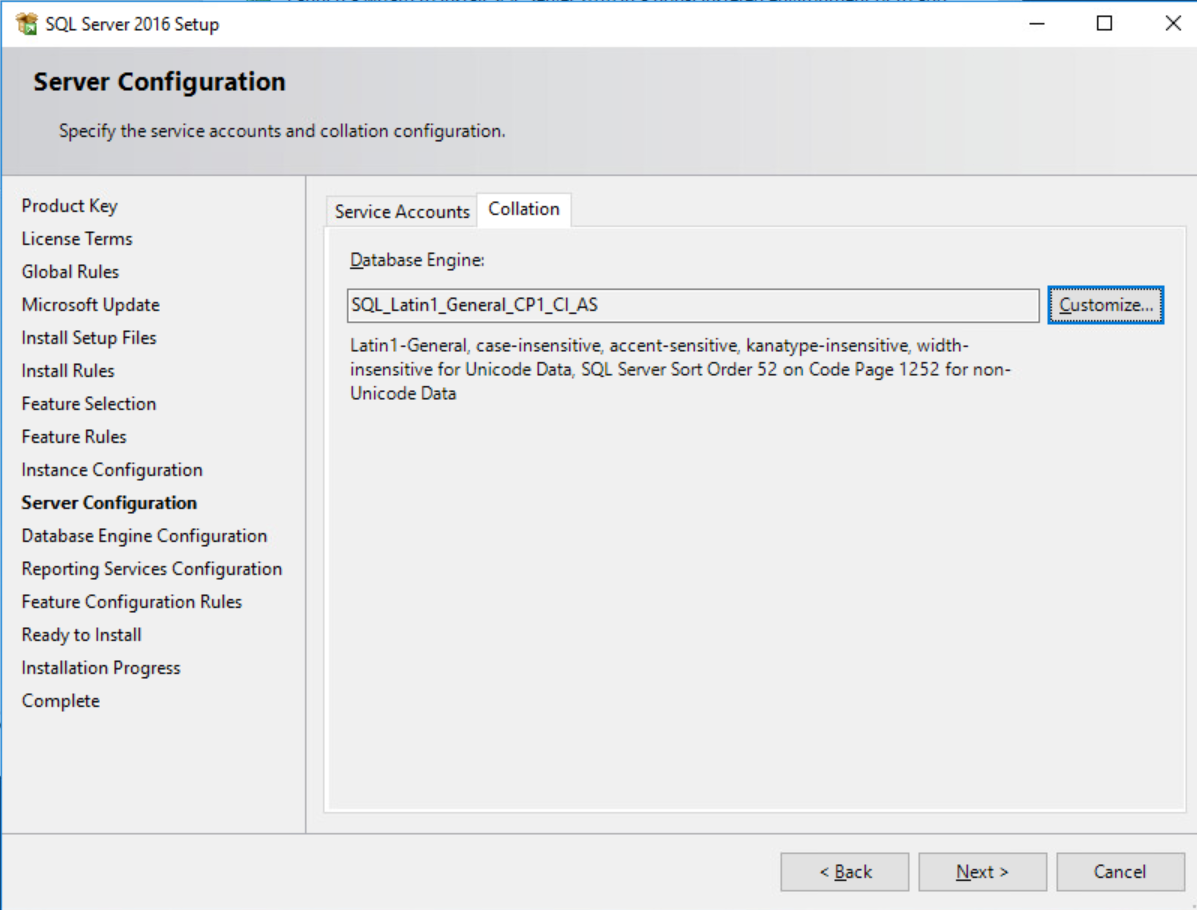
Select Collation tab and select SQL_Latin1_General_CP1_CI_AS.
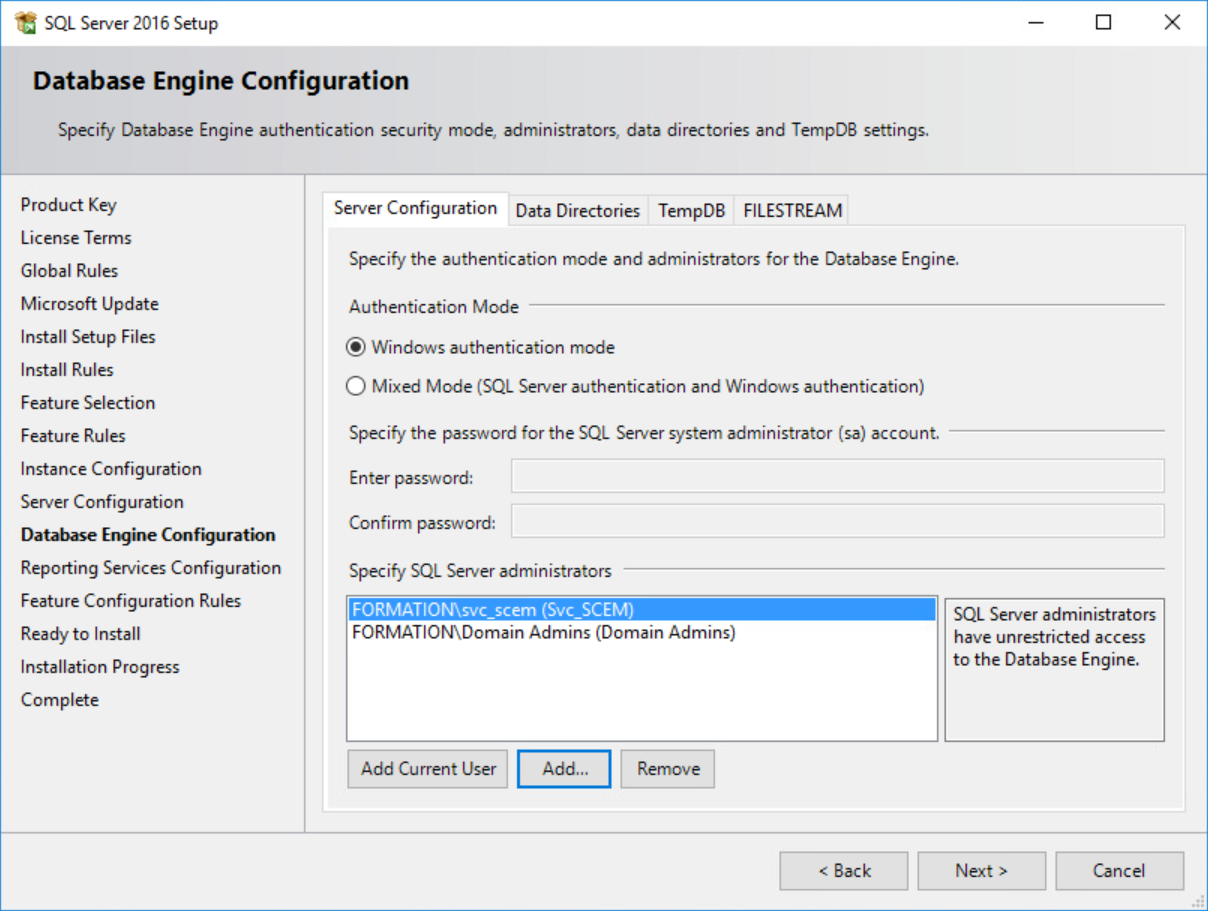
Add the SQL Administrators then click on Next.
Start install of SQL.
Delegate control on System Management container
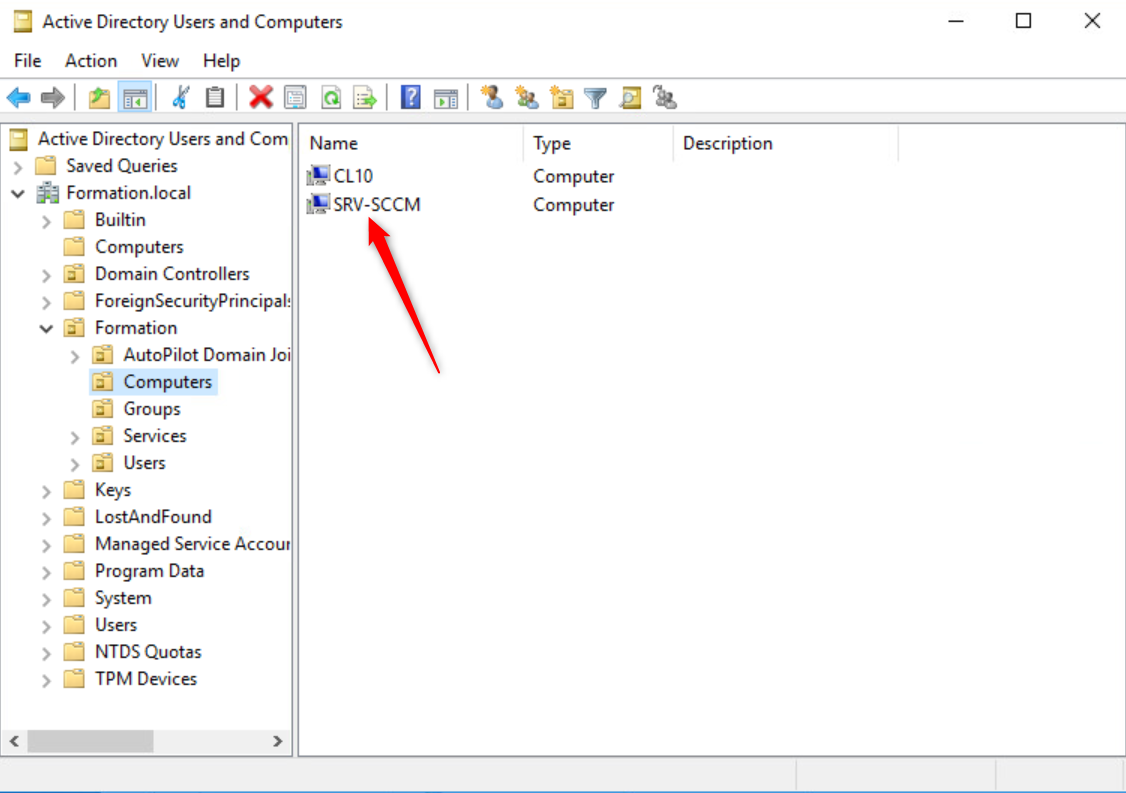
From the domain controller, open Active Directory Users and Computers console. Expand System and right click on System Management then click on Delegate Control.

Click on Add then select computer account.

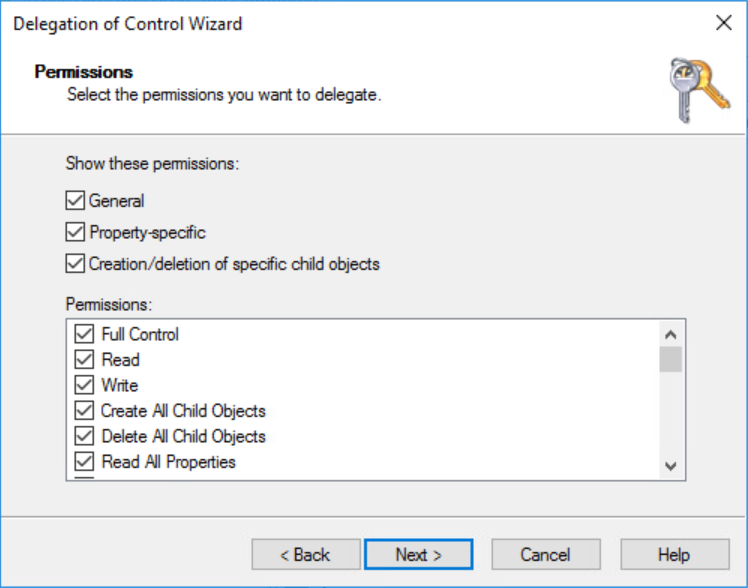
Tick Create a custom task to delegate.

Tick Full control then click on Next.
Click on Finish. The delegation has been configured. Add sccm computer and user account on Administrator groups.
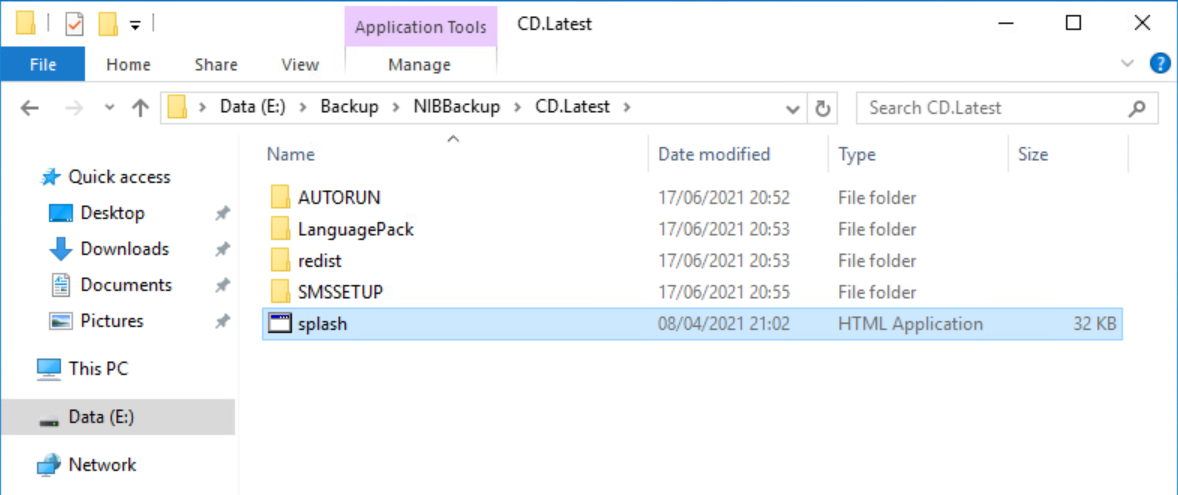
Restore SCEM Site
From the backup folder, run Splash file on CD.Latest folder.
A wizard appear, click on Install.

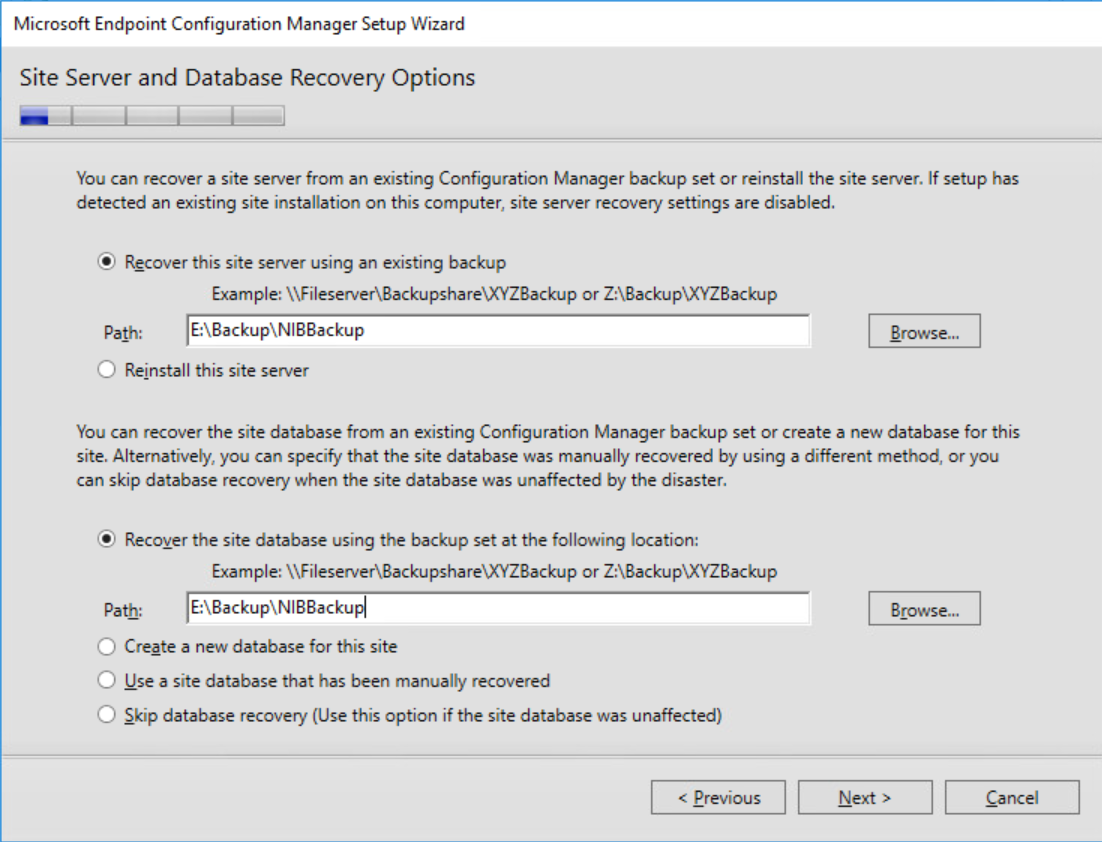
Check Recover a site option then clik on Next.

With Browse button, select the backup folder path for recover the site server. If SQL Server is hosted on the same server, you need to recover the site database otherwise select Skip database recovery.
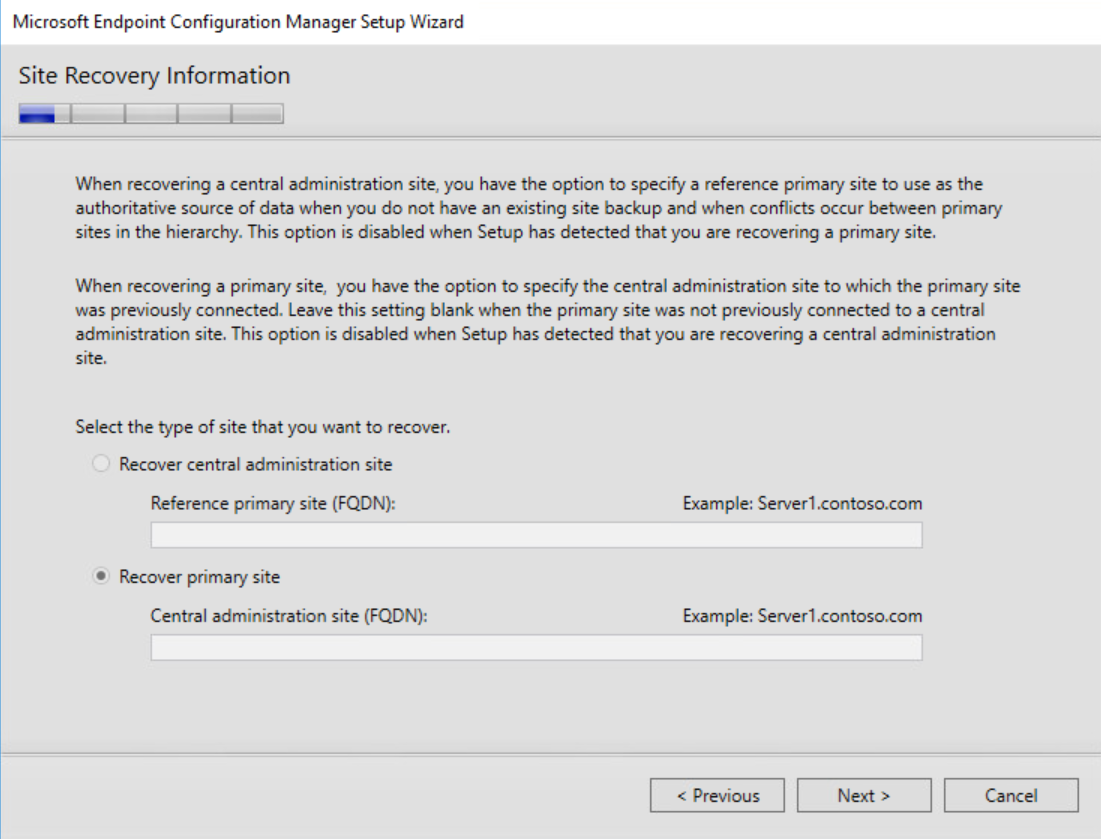
Leave the default value on Site Recovery Information windows.
You need to download required files on Internet. Select desired folder and click on Next.

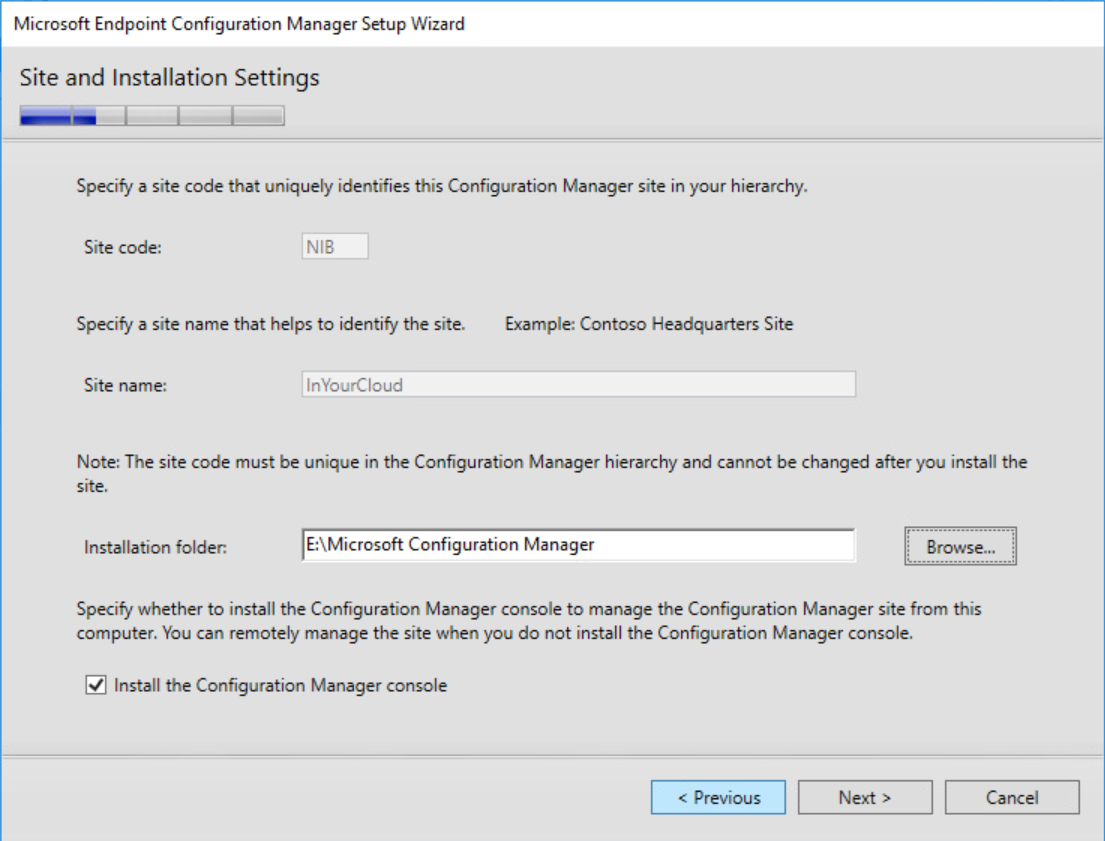
Select the Installation Folder and click on Next.
Verify Database server and click on Next.

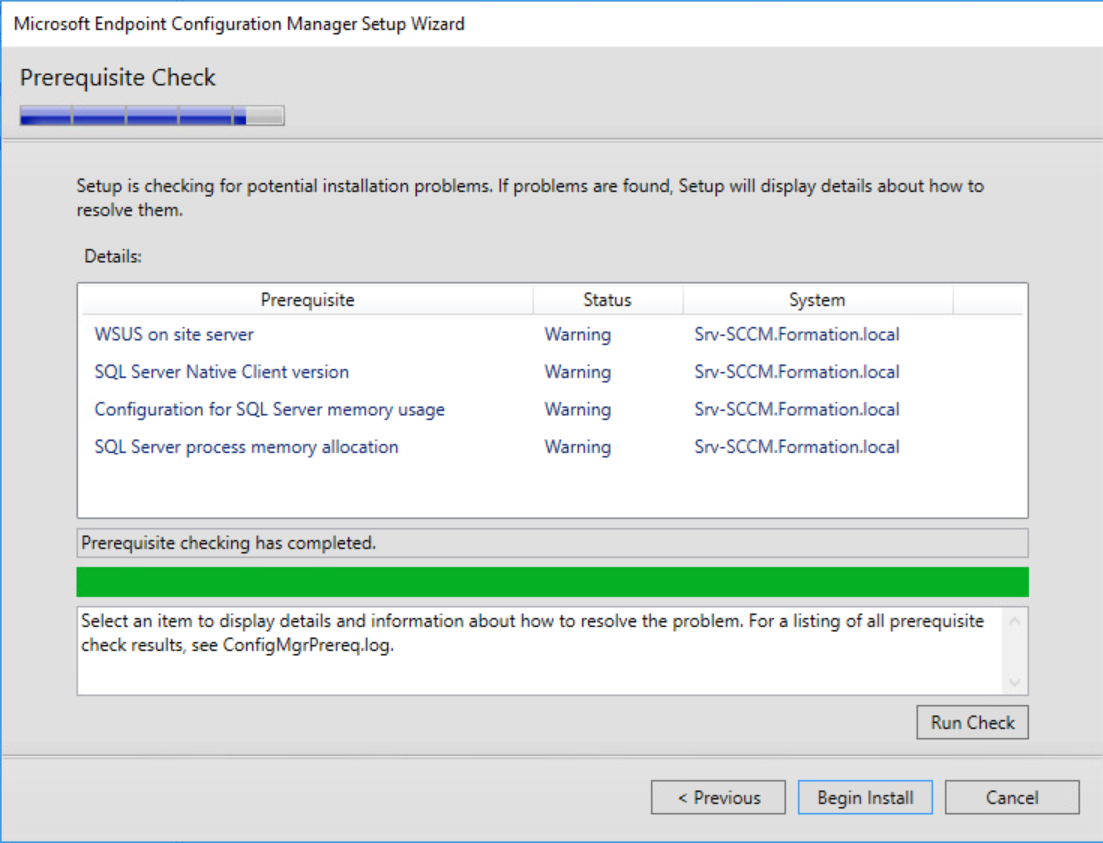
Verify prerequisites then click on Begin Install.
Install is in progress… For finished restore, you need re-enter the password of user account.

Test all feature (deployment of scem agent, deploy application, …)